
Guide to Building a Duct Tape Prototype
After interviewing potential customers and doing Problem Research you are ready to move on to Solution Research where you can show potential customers your product mock-ups, 3D models and your first prototypes to get feedback from them about your idea.
We’ve already discussed how to sketch your ideas and quickly make 3D models of each part. Now let’s take this basic idea and make a crude prototype, also called a duct tape prototype. In electronics, these prototypes are sometimes called engineering breadboards because in the early days inventors would literally nail copper wires and terminal strips to wooden boards. The basic idea works for physical product development.
A duct tape prototype is built to prove certain important points at the beginning of the process. The duct tape prototype should function somewhat like the final product but, it’s perfectly OK if it doesn’t look anything like the final version. The full user experience will be considered in later prototypes.
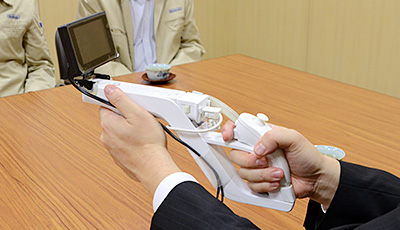
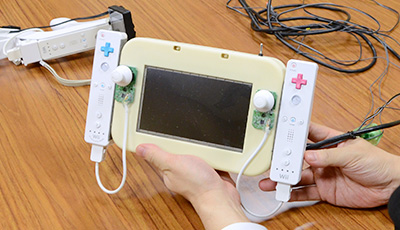
While developing the Wii U, Nintendo Engineers literally made duct tape prototypes with the older Wii controllers, double-stick tape and many off the shelf parts. They followed a very simple and important rule: First Functionality, then Design.
Don’t be afraid to use simple household items, cardboard, foam, glue or even duct tape to make your first prototype. This is only the first step. We are building this prototype to reduce technical and market risk and help us eventually simmer this all down into a minimum viable product (MVP) which will then later be detailed and developed in the following engineering and manufacturing steps or phases.
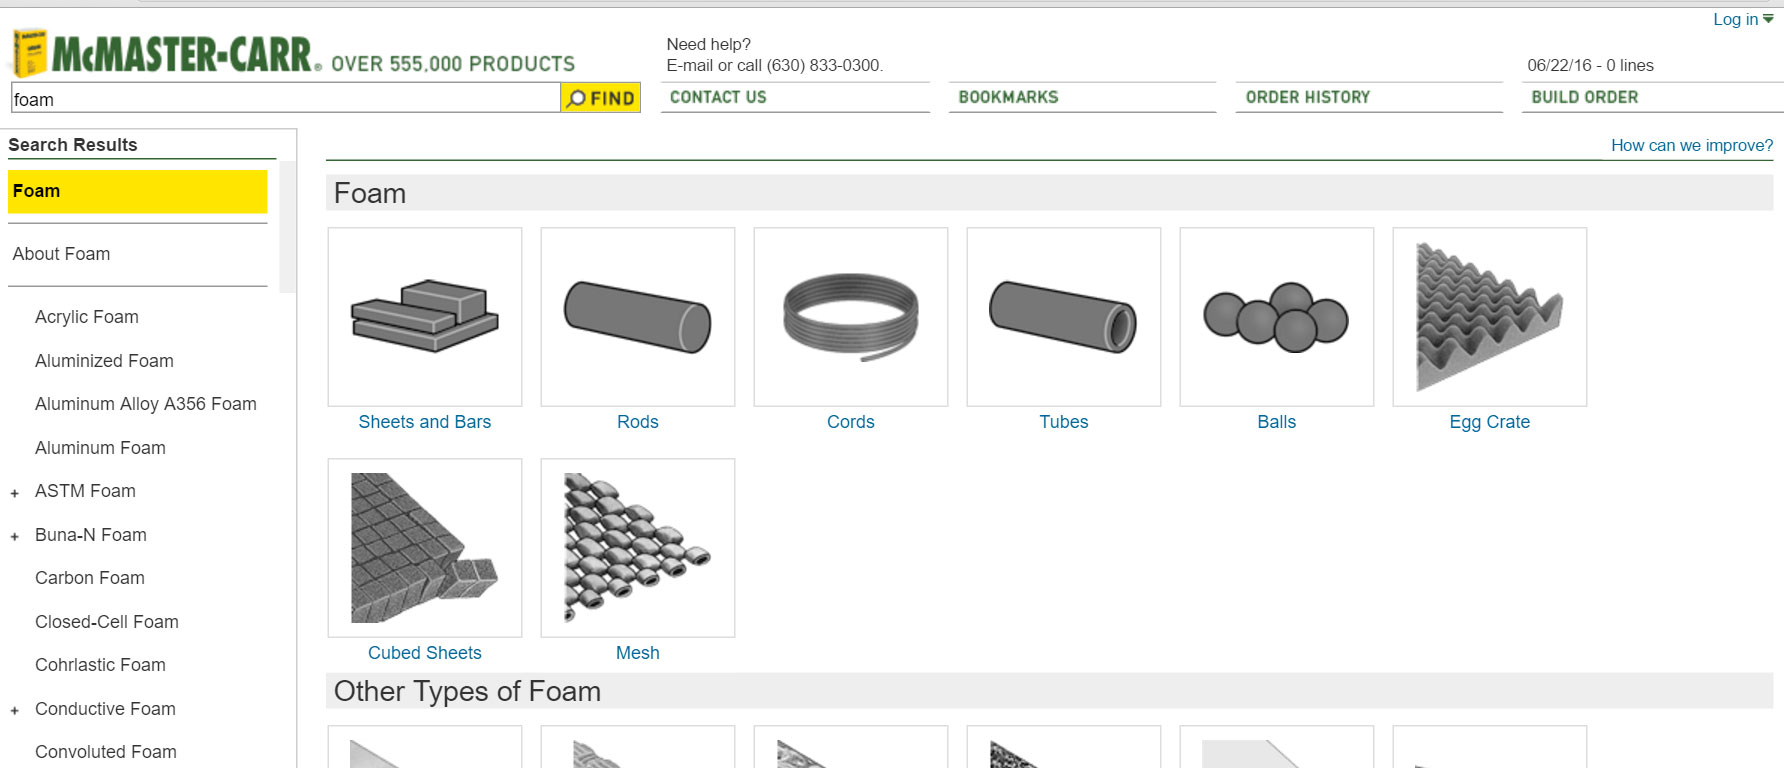
One great place to buy materials is at your local hardware store. It’s also easy to find more specialized parts and materials at: http://www.mcmaster.com/
Maker or Hacker Spaces
You don’t need to be an electrical engineer, carpenter or machinist to make a great duct tape prototype. Don’t worry if you don’t have all of the tools either. There is a Maker Space in your area where you can use their tools, learn how to use them properly and connect with other makers who can help you make your prototype. Many maker or hacker spaces are nonprofit and can be used from $40-$60 per month.
You can easily find maker or hacker spaces in your area here:
http://www.urbanmfg.org/maker-spaces/
https://wiki.hackerspaces.org/List_of_Hacker_Spaces
https://www.makerdirectory.com/makerspace-directory/
http://blog.westelm.com/2016/06/21/maker-space-guide/
We are located in the San Antonio/Austin Texas area and I quickly found a long list by simply googling “maker spaces San Antonio Austin”
http://atxhs.org/wiki/Main_Page#
3D Printing
With the wide availability of 3D printing, some parts of your duct tape prototype can be easily printed at a low cost. Take into account that 3D printing has its limitations which mostly depend on size, thickness and shape. Also, 3D printed versions many times will not have the same strength as the final product which should be considered. One example of this is a project we worked on here at Aire Plastics. We needed to 3D print two parts that snapped together. The product was designed for injection molding so we had to redesign the snap to make it possible to 3D print the prototype or the snaps would simply break off.
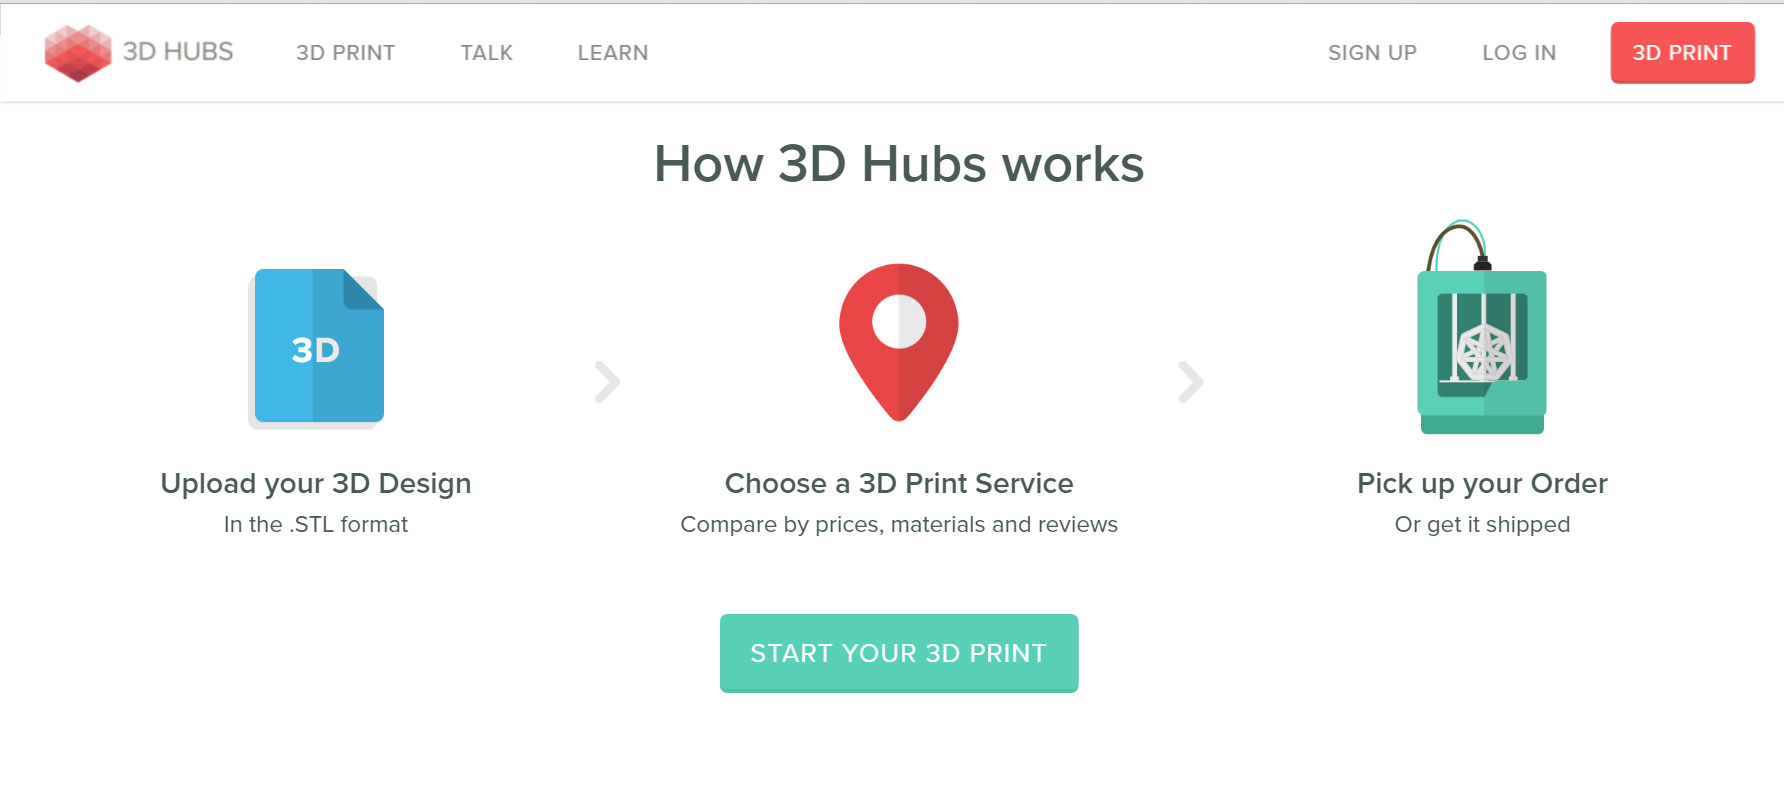
One great place to easily find and pay a 3D printer in your area is 3D Hubs. In general people in the 3D printer space are very helpful. If you have any questions or need suggestions, don’t be afraid to ask. You only need your drawing in .STL format to get a real time quote. In my experience you can get parts printed and in your hands in 12 to 48 hours.
Electronics
If your product idea includes electronics, you won’t have to start from scratch. Like we talked about at the beginning of the article, you can use a breadboard which is a temporary circuit board for testing and prototyping circuits without soldering.
http://www.instructables.com/id/Breadboard-Basics-for-Absolute-Begginers/
There are a limitless amount of tutorials and electronics websites for beginners to help you get started. Most have forums full of people, happy to answer your questions. Here are just a few:
https://startingelectronics.org/beginners/
http://www.circuitstoday.com/simple-electronics-projects-and-circuits
Here are a few places to buy basic electronics components:
http://www.mouser.com/
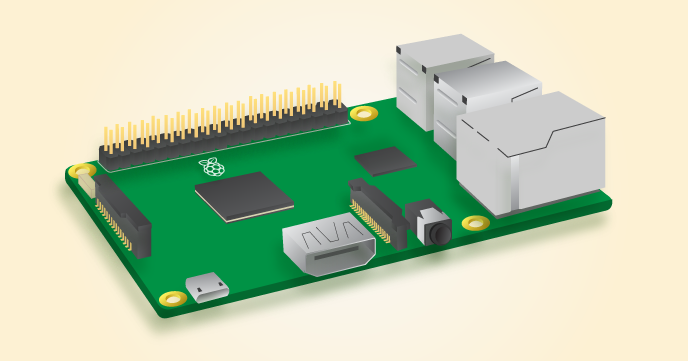
There are also many developer kits to add advanced functionality. For example, Arduino kits and Rasberry Pi microcomputers.
https://www.arduino.cc/en/Main/ArduinoStarterKit
https://123d.circuits.io/shop/arduino
https://www.amazon.com/CanaKit-Raspberry-Complete-Starter-9-Items/dp/B008XVAVAW
If you decide not to DIAY (Do It All Yourself), you can easily find someone to hire to do simple projects through the forums listed at the beginning of this section. When in doubt: Ask! Having a small amount of basic knowledge about the inner workings of your project will come in handy as you advance.
Conclusion
I hope these resources help to make your duct tape prototype a reality. Remember the guys from Nintendo, this prototype doesn’t need to be beautiful. Its purpose is to help you think deeply about how your product idea will function and to test these ideas with potential customers. This is not a beauty contest. Ugly is ok. We’ll do some plastic surgery on it later (ba-dum-bum-CHING).
Stay the course. Persistence is everything in the physical product space. Continue to focus, take action on each step and never forget to have fun while doing it.